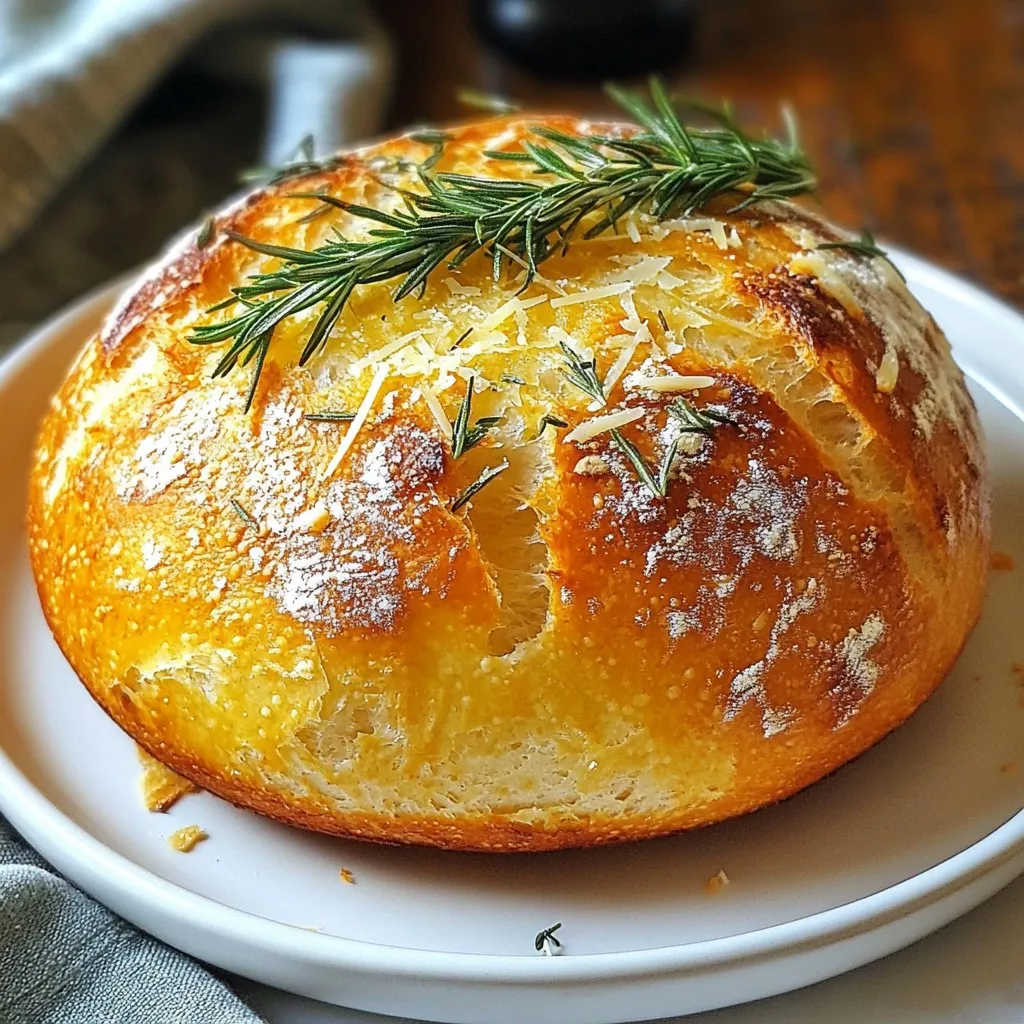
If you’ve ever wanted to bake bread without the hassle of kneading, you’re in the right place. In this guide, I’ll show you how to make Easy Artisan No-Knead Bread that will impress everyone at your table. With just a few simple ingredients and minimal effort, you can create a warm, crusty loaf that tastes divine. Let’s dive into the world of easy homemade bread that will elevate your baking game!
Why I Love This Recipe
- No-Knead Convenience: This recipe allows you to create delicious artisan bread without the hassle of kneading, making it perfect for busy bakers.
- Long Rise for Flavor: The extended fermentation time brings out deeper flavors and a wonderful texture, giving you that authentic rustic taste.
- Customizable Ingredients: With optional rosemary and Parmesan, you can tailor the bread to your taste preferences, adding a personal touch to each loaf.
- Impressive Presentation: This crusty, golden loaf not only tastes amazing but also looks stunning, making it a fantastic centerpiece for any meal.
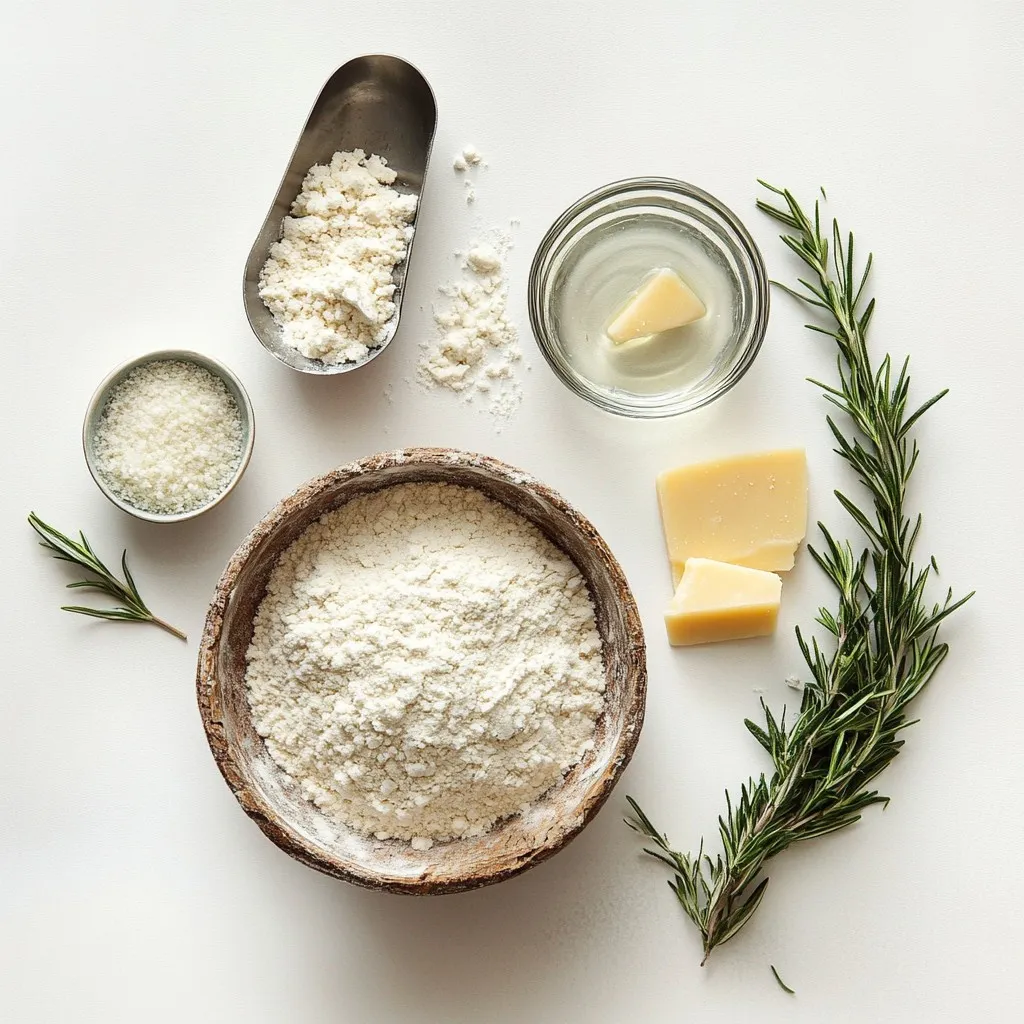
Ingredients
Main Ingredients
– 3 cups all-purpose flour
– 1 ½ teaspoons salt
– ½ teaspoon instant yeast
– 1 ½ cups warm water
The main ingredients for this easy artisan no-knead bread are simple. First, you need all-purpose flour, which gives the bread its structure. Next is salt, which adds flavor and controls yeast activity. Instant yeast helps the dough rise without needing to be activated. Finally, warm water brings everything together, making a sticky dough.
Optional Ingredients for Flavor
– ¼ cup finely chopped fresh rosemary
– ¼ cup grated Parmesan cheese
For a flavor boost, you can add some optional ingredients. Fresh rosemary gives a lovely herbal note. It pairs well with the warm, crusty bread. Grated Parmesan cheese adds a rich, savory taste. You can mix these in with the flour, salt, and yeast. These extras make your bread unique and delicious. Feel free to experiment with other herbs and cheeses based on your taste!
Step-by-Step Instructions
Mixing the Dough
– In a large bowl, combine 3 cups of all-purpose flour, 1 ½ teaspoons of salt, and ½ teaspoon of instant yeast.
– If you want extra flavor, stir in ¼ cup of chopped fresh rosemary and ¼ cup of grated Parmesan cheese.
– Gradually add 1 ½ cups of warm water (about 100°F). Mix with a wooden spoon until a sticky dough forms. Make sure no dry flour remains at the bottom.
First Rise
– Cover the bowl tightly with plastic wrap or a kitchen towel.
– Let the dough rise at room temperature for 12 to 18 hours. The surface should show bubbles, and the dough will double in size.
Shaping the Loaf
– Once the dough has risen, turn it out onto a well-floured surface.
– With floured hands, fold the dough over itself a few times to shape it into a round loaf.
– Let the dough rest for about 15 minutes as you preheat your oven.
Baking the Bread
– Preheat your oven to 450°F (232°C). Place a Dutch oven (with its lid) in the oven to heat for about 30 minutes.
– Carefully remove the hot Dutch oven. Place the dough inside it. Brush the top lightly with olive oil, and if desired, sprinkle more Parmesan cheese on top.
– Cover with the lid and bake for 30 minutes. Then, remove the lid and bake for an additional 15 to 20 minutes. The bread should turn golden brown and crusty.
– After baking, remove the loaf from the Dutch oven. Let it cool on a wire rack for at least 30 minutes before slicing.
Tips & Tricks
Achieving the Perfect Crust
To get a nice, crispy crust, you should preheat your Dutch oven. Heat it for about 30 minutes before baking. This helps create steam, which is key for a great crust. You can also spritz the dough with water before you cover it. This adds extra steam and helps the bread rise.
Ensuring an Airy Crumb
Resting the dough is very important. Let it rise for 12 to 18 hours until it bubbles and doubles. This time allows the flavors to develop and the dough to become airy. Avoid kneading the dough too much. The no-knead method relies on time, not effort, to make the bread light.
Flavor Enhancements
You can spice up your bread by adding herbs and cheese. Try rosemary for a fragrant touch or Parmesan for a cheesy flavor. Mixing different types of flour can also change the taste. Whole wheat or rye flour can bring new layers to your loaf. Don’t be afraid to experiment with flavors!
Pro Tips
- Use Fresh Ingredients: Always opt for fresh rosemary and high-quality Parmesan cheese to enhance the flavor of your bread.
- Monitor Rising Time: Depending on the ambient temperature, rising times can vary. Look for a bubbly surface and a doubled size to know when it’s ready.
- Preheat Your Dutch Oven: Heating the Dutch oven before baking helps achieve a perfect crust by creating steam that keeps the bread moist.
- Cool Before Slicing: Allowing the bread to cool for at least 30 minutes before slicing helps set the crumb and enhances the texture.
Variations
Herb-Infused Variations
You can add herbs to your no-knead bread for extra flavor. Here are two tasty options:
– Garlic and herb blend: Mix in minced garlic and dried herbs like thyme or oregano. This gives the bread a warm, savory taste.
– Basil and sundried tomato: Chop up sundried tomatoes and mix with fresh basil. This combination brings a fresh, Italian vibe to your loaf.
Cheese-Infused Variations
Cheese adds richness and depth to your bread. Here are some great choices:
– Sharp Cheddar or Gruyère: Grate sharp Cheddar or Gruyère and fold it into the dough. This will make your bread cheesy and delicious.
– Feta and olives: Crumble feta cheese and add chopped olives for a Mediterranean twist. This adds a nice salty flavor.
Gluten-Free Option
If you need a gluten-free bread, swap all-purpose flour for a gluten-free flour blend. Look for a blend that includes xanthan gum, as it helps mimic the texture of regular bread. Just be aware that gluten-free bread may have a different taste and texture but can still be very satisfying.
Storage Info
Short-term Storage
To keep your no-knead bread fresh at room temperature, wrap it in a clean cloth. You can also use a bread bag. This helps maintain moisture while keeping the crust crispy. Store it in a cool, dry place away from sunlight.
Long-term Storage
If you want to save bread for later, freezing works well. Slice the bread first to make it easy to use. Wrap each slice in plastic wrap, then put them in a freezer bag. When you’re ready to eat, take out the slices and reheat them. To keep the texture nice, use an oven or toaster. This helps retain the crust’s crunch and the bread’s soft inside.
Shelf Life
At room temperature, your no-knead bread stays good for about 3 to 5 days. After that, it may start to lose flavor. Look for signs of spoilage. If you see mold or the bread smells off, toss it out. Keeping an eye on your bread helps you enjoy it at its best!
FAQs
How long does no-knead bread need to rise?
No-knead bread needs to rise for 12 to 18 hours. The time depends on your room’s warmth. Warmer rooms may shorten the rise time, while cooler ones may extend it. You want the dough to double in size. Look for bubbles on the surface. This means the yeast is active and working well.
Can I use active dry yeast instead of instant yeast?
Yes, you can use active dry yeast. Just remember to proof it first. Mix it with warm water and a bit of sugar. Let it sit until frothy. This shows the yeast is alive. Then, add it to your dough mix. Instant yeast skips this step and can be mixed directly with dry ingredients.
Why did my bread not rise properly?
Common issues include using old yeast or cold water. Check the yeast’s expiration date. If it’s old, it may not work. Cold water can slow yeast action. Always use warm water around 100°F. If your dough is too wet or dry, it can also affect rising. Make sure to follow the recipe closely for best results.
You now have a clear guide to make no-knead bread. We covered the ingredients, from basics like flour and salt to flavors like rosemary. I shared steps to mix, rise, shape, and bake your bread for the best results. Use the tips to achieve a perfect crust and airy inside. Remember, you can try herbs or different cheeses for fun variations. Store it right to keep bread fresh. Trust this process, and you’ll create tasty bread at home. Enjoy your baking journe