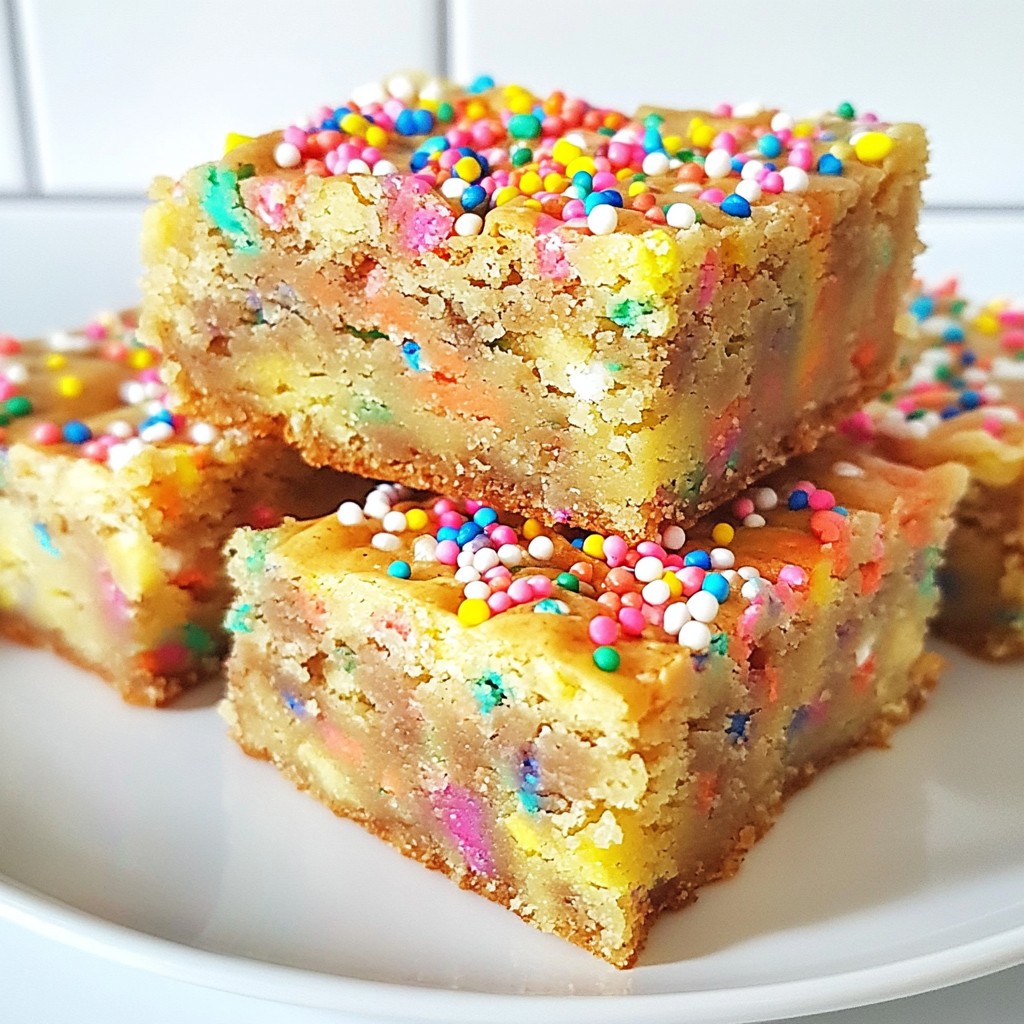
Are you in the mood for a bright, tangy treat? Greek Yogurt Lemon Bars are your answer! These bars are easy to make and bursting with flavor. You’ll love how the creamy yogurt adds a twist to the classic lemon taste. In this post, I’ll guide you through the simple steps, share tips for perfecting the flavor, and even suggest variations to fit your needs. Ready to dig in? Let’s get started!
Why I Love This Recipe
- Bright and Refreshing Flavor: The combination of fresh lemon juice and zest creates a zesty, refreshing flavor that’s perfect for any occasion.
- Healthier Twist: Using Greek yogurt instead of heavy cream makes these bars a lighter, healthier dessert option without sacrificing taste.
- Easy to Make: This recipe is straightforward and quick, making it easy for bakers of all skill levels to whip up a delicious treat.
- Perfectly Portable: These lemon bars are easy to slice and serve, making them an excellent choice for picnics, parties, or potlucks.
Ingredients
List of Ingredients
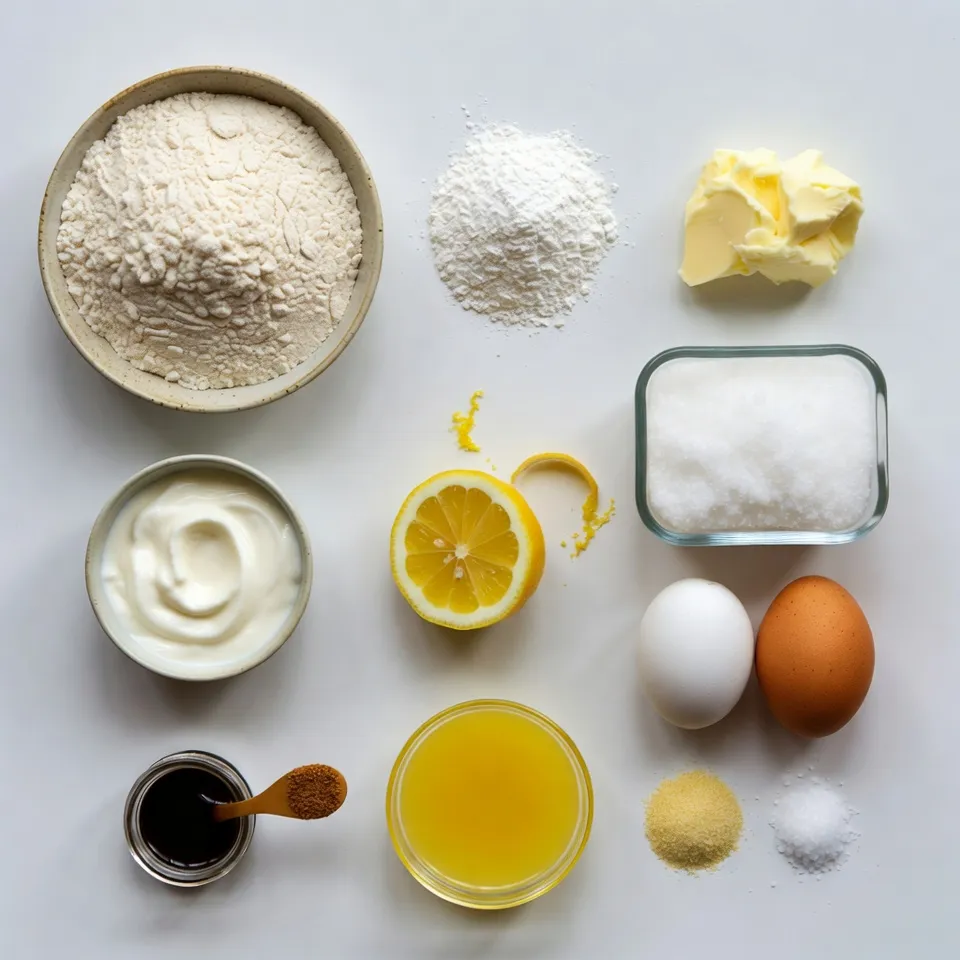
To make these Greek Yogurt Lemon Bars, gather the following items:
– 1 cup all-purpose flour
– 1/4 cup powdered sugar
– 1/2 cup unsalted butter, softened
– 1/2 cup granulated sugar
– 2 large eggs
– 1 cup Greek yogurt (the thicker, the better)
– 1/4 cup fresh lemon juice
– Zest of 1 lemon
– 1 teaspoon vanilla extract
– 1 tablespoon cornstarch
– Pinch of salt
Suggested Substitutions
You can swap some ingredients if you need. Here are a few ideas:
– Use whole wheat flour for more fiber.
– Coconut sugar can replace granulated sugar for a healthier option.
– Substitute egg with 1/4 cup unsweetened applesauce for a vegan version.
– Greek yogurt can be replaced with dairy-free yogurt if needed.
Nutritional Information
These lemon bars are not just tasty; they also pack a nutritional punch. Each serving (1 bar) contains:
– Calories: 150
– Protein: 3g
– Carbohydrates: 20g
– Dietary Fiber: 1g
– Sugars: 10g
– Fat: 7g
– Saturated Fat: 4g
These values can change based on your substitutions. Enjoy a sweet treat that is also somewhat healthy!
Step-by-Step Instructions
Prepping the Crust
First, we need to prepare the crust. Start by preheating your oven to 350°F (175°C). Take an 8×8-inch baking pan and grease it or line it with parchment paper. This helps with easy removal later. In a mixing bowl, combine 1 cup of all-purpose flour and 1/4 cup of powdered sugar. Next, add 1/2 cup of softened unsalted butter. Mix this until it looks crumbly. Now, press this mixture evenly into the bottom of your prepared pan. This will be your crust.
Preparing the Lemon Filling
Now, let’s make the lemon filling. In a large bowl, whisk together 1/2 cup of granulated sugar and 2 large eggs. Blend them well until mixed. Then add 1 cup of Greek yogurt, 1/4 cup of fresh lemon juice, and the zest of 1 lemon. Don’t forget to include 1 teaspoon of vanilla extract, 1 tablespoon of cornstarch, and a pinch of salt. Mix everything until it’s smooth and creamy. This mixture will give your bars a delicious lemon flavor.
Baking the Bars
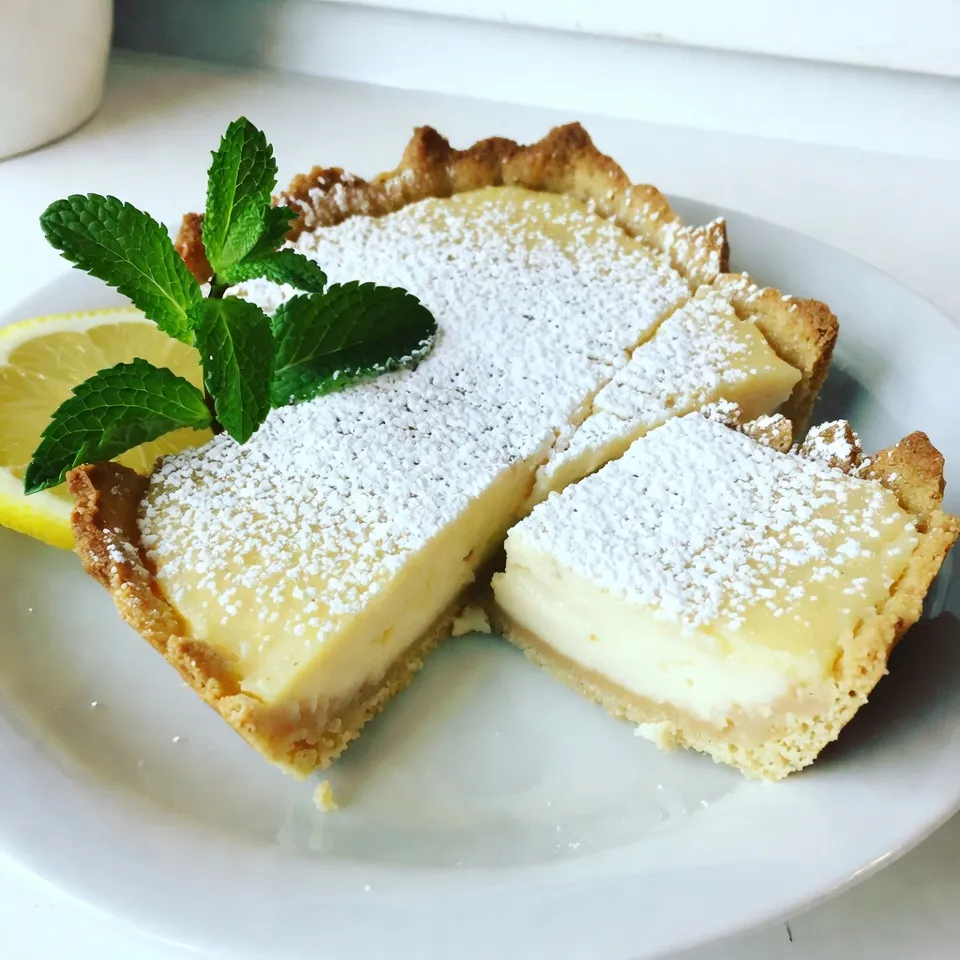
Now it’s time to bake! Pour the lemon filling over the crust you just made. Spread it evenly across the top. Place the baking pan back into the oven. Bake for another 20-25 minutes. You want the filling to be set and slightly firm to the touch. After baking, take the pan out and let it cool at room temperature. For the best taste, chill the bars in the refrigerator for at least 2 hours before slicing. When serving, dust the top with more powdered sugar for a lovely finish. Enjoy your zesty treat!
Tips & Tricks
Perfecting the Lemon Flavor
To get the best lemon taste, use fresh lemons. Fresh juice makes a big difference. The zest adds a burst of flavor too. Grate the yellow part of the lemon peel, avoiding the white. The white part is bitter and can ruin the taste. Mix the juice and zest well into the filling. This ensures each bite is zesty and bright.
Common Mistakes to Avoid
One common mistake is not cooling the crust enough. If the crust is hot, the filling can melt. Always let the crust cool slightly before adding the lemon mixture. Another mistake is overbaking. Keep an eye on the bars as they bake. They should be set but still jiggle slightly in the center. Finally, don’t skip dusting with powdered sugar. It makes the bars look pretty and tastes sweet against the tart lemon.
Serving Suggestions
Serve these lemon bars chilled for the best taste. Placing them on a decorative plate makes for a lovely display. Garnish each bar with a slice of lemon or a sprig of mint. This adds color and freshness. For a fun twist, serve them with whipped cream or a scoop of vanilla ice cream. Enjoying these bars at a picnic or party will surely impress your guests!
Pro Tips
- Use Fresh Lemons: For the best flavor, always opt for fresh lemons instead of bottled lemon juice. The zest and juice from fresh lemons will elevate the taste of your lemon bars.
- Chill for Perfect Texture: Allow the bars to chill in the refrigerator for at least 2 hours before slicing. This will help them set properly and make them easier to cut into clean squares.
- Adjust Sweetness: If you prefer a sweeter bar, feel free to increase the granulated sugar in the filling. Just be cautious not to overdo it, as it can alter the texture.
- Presentation Matters: Dusting the top with powdered sugar before serving not only enhances the visual appeal but also adds a touch of sweetness. Consider garnishing with fresh mint or additional lemon slices for a beautiful presentation.
Variations
Additional Flavor Options
You can add fun flavors to your lemon bars. Try adding a splash of raspberry or blueberry puree to the lemon filling. This gives a colorful twist and a burst of fruity taste. You can also mix in some fresh herbs like basil or thyme for a unique flavor. These herbs pair well with lemon and add a fresh note.
Healthy Swaps
Want to make your lemon bars a bit healthier? You can swap the all-purpose flour for almond flour. This change gives a nutty flavor and adds healthy fats. You can also use honey or maple syrup instead of granulated sugar. This makes the bars naturally sweet and adds a richer taste. If you want to boost protein, use Greek yogurt with higher protein content.
Gluten-Free Alternatives
To make these lemon bars gluten-free, use gluten-free all-purpose flour. This helps keep the texture similar to regular flour. You can find blends that work well in baking. Make sure to check the labels for any added ingredients that may contain gluten. Enjoy these lemon bars without worry about gluten!
Storage Info
How to Store Lemon Bars
Once your lemon bars are cool, slice them into squares. Place them in an airtight container. You can keep them in the fridge for up to a week. This keeps them fresh and tasty. Make sure to layer parchment paper between bars. This prevents them from sticking together.
Freezing Instructions
You can freeze lemon bars for later too! Wrap each bar in plastic wrap tightly. Then, place them in a freezer-safe bag. They will stay good for about three months in the freezer. When you’re ready to eat, just take out the bars and let them thaw in the fridge.
Best Way to Reheat
If you want to enjoy warm lemon bars, reheat them in the oven. Set it to 300°F (150°C). Place the bars on a baking sheet for about 10 minutes. This warms them up without drying them out. Enjoy them warm or cold; either way, they taste great!
FAQs
Can I use non-fat Greek yogurt?
Yes, you can use non-fat Greek yogurt. It will still give you great flavor. The texture may be less creamy than whole or full-fat yogurt. This change can make your bars a bit lighter. Just ensure you mix it well to keep a smooth filling.
How long do these lemon bars last?
These lemon bars can last about five days in the fridge. Keep them in an airtight container. If you want them to last longer, you can freeze them. Just wrap them tightly in plastic wrap and aluminum foil. They can stay fresh for up to three months in the freezer!
What can I use instead of eggs?
If you need an egg substitute, try using flaxseed meal or applesauce. Mix 1 tablespoon of flaxseed with 2.5 tablespoons of water. Let it sit for a few minutes to thicken. You can also use 1/4 cup of unsweetened applesauce for each egg. These options work well and keep your bars moist.
This blog post gave you all the details on making lemon bars. We covered the right ingredients, step-by-step baking, and tips for success. I also shared tasty variations and storage tips to keep your bars fresh.
Each point helps you create a perfect treat, whether for a snack or a special event. I hope you feel ready to bake and enjoy these delicious lemon bar